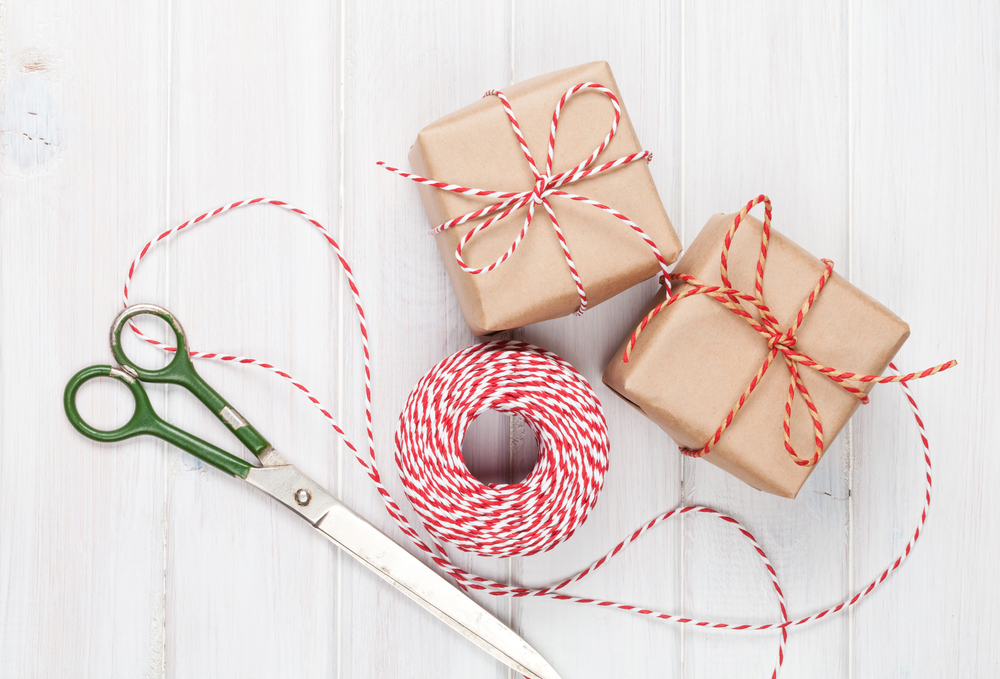
As enthusiasts in giving gifts, we firmly believe that the presentation of a gift can be just as important as the gift itself. We understand that a beautifully wrapped present not only shows care and thoughtfulness but also adds an element of surprise and excitement to any occasion. In this comprehensive guide, we, as your gift-giving companions, will take you on a journey of learning how to wrap a present. We will explore seven essential steps to help you master the art of wrapping that will leave a lasting impression on your loved ones.
Gather Your Supplies
Before beginning your gift-wrapping process, it’s essential to ensure you have all the necessary supplies within reach. As the saying goes, preparation is key to success. Firstly, select wrapping paper that suits both the occasion and the recipient’s taste. This could be a vibrant pattern, an elegant design, or a classic solid color, as it sets the stage for your gift presentation.
Invest in a good pair of scissors that will facilitate precise cutting, making the task much easier. Opt for double-sided tape to achieve a seamless and neat finish; it serves as a secret weapon for concealing tape lines. Choose complimentary ribbons and bows to add an extra touch of elegance to your wrapped gift. Remember to include gift tags and markers to personalize your gift with a thoughtful message, use a marker or pen for this purpose.
Lastly, find a clean, flat surface—a spacious, clutter-free area where you can comfortably spread out your supplies and work efficiently. Having these supplies ready will streamline the wrapping process, ensuring a more enjoyable and efficient experience.
Choose the Right Wrapping Paper
The decision regarding wrapping paper holds significant weight in your gift presentation—it serves as the cornerstone that sets the tone for what lies within. When deliberating on the choice of wrapping paper, several crucial factors to consider. Firstly, contemplate the theme or occasion being commemorated. Choose a paper that harmonizes with the event, be it a birthday, anniversary, holiday, or any other special occasion.
Secondly, take into account the preferences of the recipient. Consider whether they lean towards a minimalist aesthetic, favor bold patterns, or perhaps prefer something in between. Thirdly, ensure the paper size matches the gift’s dimensions. Measure the paper to guarantee adequate coverage, resulting in a polished and tidy appearance.
It’s crucial to recognize that the wrapping paper holds the responsibility of reflecting the sentiment behind the gift and conveying your thoughtfulness effectively. Therefore, making a mindful selection can significantly enhance the overall impact of your gift presentation.
The Art of Wrapping
Let’s delve into the core of gift wrapping—the actual process. Begin by placing your gift at the center of your chosen wrapping paper, leaving enough paper on all sides to cover it completely. Fold one side of the paper over the gift and secure it with tape in the middle. Repeat this process with the other side, creating a seamless seam at the bottom.
For flawless corners, neatly fold and secure the top and bottom ends of the paper to create crisp edges. Ensure the paper fits easily around the gift, avoiding any loose or wrinkled areas. Use tape to tightly secure the paper for a clean and tidy appearance. Mastering the technique of folding and securing wrapping paper may take practice, but the effort yields a polished result worth striving for.
Add Decorative Elements
This is where you can let your creativity shine. Adding decorative elements takes your gift presentation to the next level. Consider these options:
- Ribbons and bows: Select ribbons and bows that complement the wrapping paper and the occasion. You can tie a classic bow, create a fancy knot, or even opt for a simple cross-wrap.
- Personal touches: Add personalized elements such as a small ornament, a sprig of fresh greenery, or a themed embellishment that enhances the overall look.
- Gift toppers: Explore a variety of gift toppers, such as metallic accents, stickers, or glitter, to give your gift a touch of glamour.
Remember that the goal is to enhance the visual appeal of your wrapped present while staying true to the occasion and the recipient’s preferences.
Don’t Forget the Gift Tag
In the art of gift-giving, a small yet mighty detail stands out: the gift tag. Despite its size, this little addition packs a significant detail, adding a touch of personality and care to your present. Whether you write a heartfelt message or simply include the recipient’s name, the gift tag is the finishing flourish that ties everything together. Attach it securely to one of the ribbons or directly onto the wrapped gift, ensuring it’s easily visible. If you want to add more surprise to your present, check out Elfster’s gift tag printables. These little items offer a variety of designs and customizable options, allowing you to personalize your tags in a way that resonates uniquely with the recipient.
The Final Flourish
Before presenting your beautifully wrapped gift, take a moment to inspect it for any imperfections. Smooth out any wrinkles or creases, adjust the ribbons for symmetry, and ensure everything is securely in place. Your attention to detail will not go unnoticed, and your recipient will appreciate the effort you’ve put into the presentation.
The art of gift wrapping is an exquisite way to elevate your gift-giving game. It’s a skill that allows you to express your thoughtfulness and creativity, making the recipient’s experience all the more special. By following these seven essential steps, you can wrap a present that not only looks stunning but also conveys the care and effort you’ve invested in the gift-giving process.
Visit Elfster today, where you can explore our wide selection of gifts for all occasions. With the right gifts and gift-wrapping techniques, you’ll be well on your way to impressing your loved ones.
